What cable size does a DC DC charger need?
6 min read
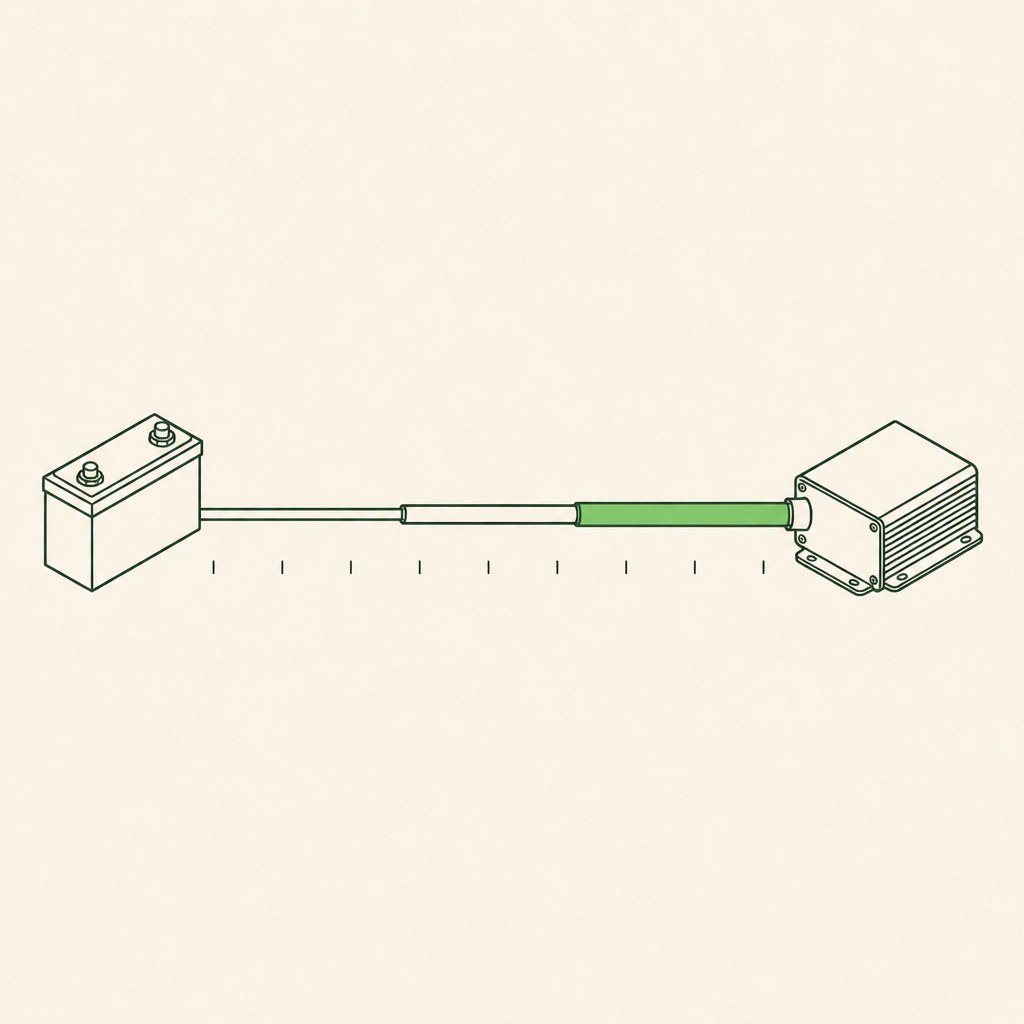
There is no single size, because the answer depends on your run length and your charge current rather than on the charger. The input run from the starter battery to the charger is normally the longest cable in the installation, and voltage lost along it is what the conductor size is chosen to control. Work out the length, decide how much drop you will accept, then choose the conductor and fuse it separately.
The run, not the charger, decides the size
Voltage lost along a cable depends on three things: the current passing through it, the length of the conductor, and its cross-sectional area. Current and length push the loss up, area pushes it down. That relationship is why the same charger can be correctly wired with a modest cable in one vehicle and an oversize one in another, and why a size quoted without a run length would be meaningless.
It also means the loss is not constant. It is largest exactly when the charger is working hardest, and it falls away as the battery fills and the current tapers. A run that looks fine when you measure it on a nearly full battery can be losing a good deal of voltage an hour earlier.
Why the input side is the awkward one
On many campervan conversions the charger is mounted near the leisure battery, which is somewhere in the back. The starter battery and the alternator are at the front. That makes the input run the longest cable in the vehicle, and it is the one carrying the current the charger needs in order to produce its rated output.
- The 12V range publishes a nominal input of 12V with an input window of 8V to 16V, so there is a limit to how far the input can sag before the charger stops working with it.
- The DD range publishes a maximum generator input voltage of 80V and a maximum generator input current of 20A, across generator system voltages of 12V, 24V, 36V and 48V.
- A higher-voltage vehicle system carries the same power at lower current, which is why a 24V installation is easier on the input cable than a 12V one of the same power.
What the charger does about it, and what it cannot
The 12V range publishes that it compensates for voltage drop along the cable run. That compensation works on the difference between what the charger measures on its input and what it needs, so it is a real benefit rather than a marketing line. It is not a licence to under-size the cable, because the compensation can only operate within the input window the charger publishes.
The DD range publishes no equivalent compensation figure, and we quote it as absent rather than assuming it behaves the same way. Where a feature is not published, size the cable as though it is not there.
Working it out for your own vehicle
- Measure the one-way distance along the route the cable will actually take, including the detours around bulkheads, and double it for the return conductor.
- Note the charge current you intend to use, remembering that the 60A model asks roughly three times the input current of the 20A one.
- Decide what voltage drop you are willing to accept. The tighter the figure, the larger the conductor, and the trade is cost and stiffness against the charge the battery actually receives.
- Check the candidate cable against the manufacturer's own current rating and voltage drop data for that specific cable, rather than relying on a general table.
- Fuse the run at the source end, sized to protect the cable rather than the charger, and keep the fuse holder out of the engine bay heat where you can.
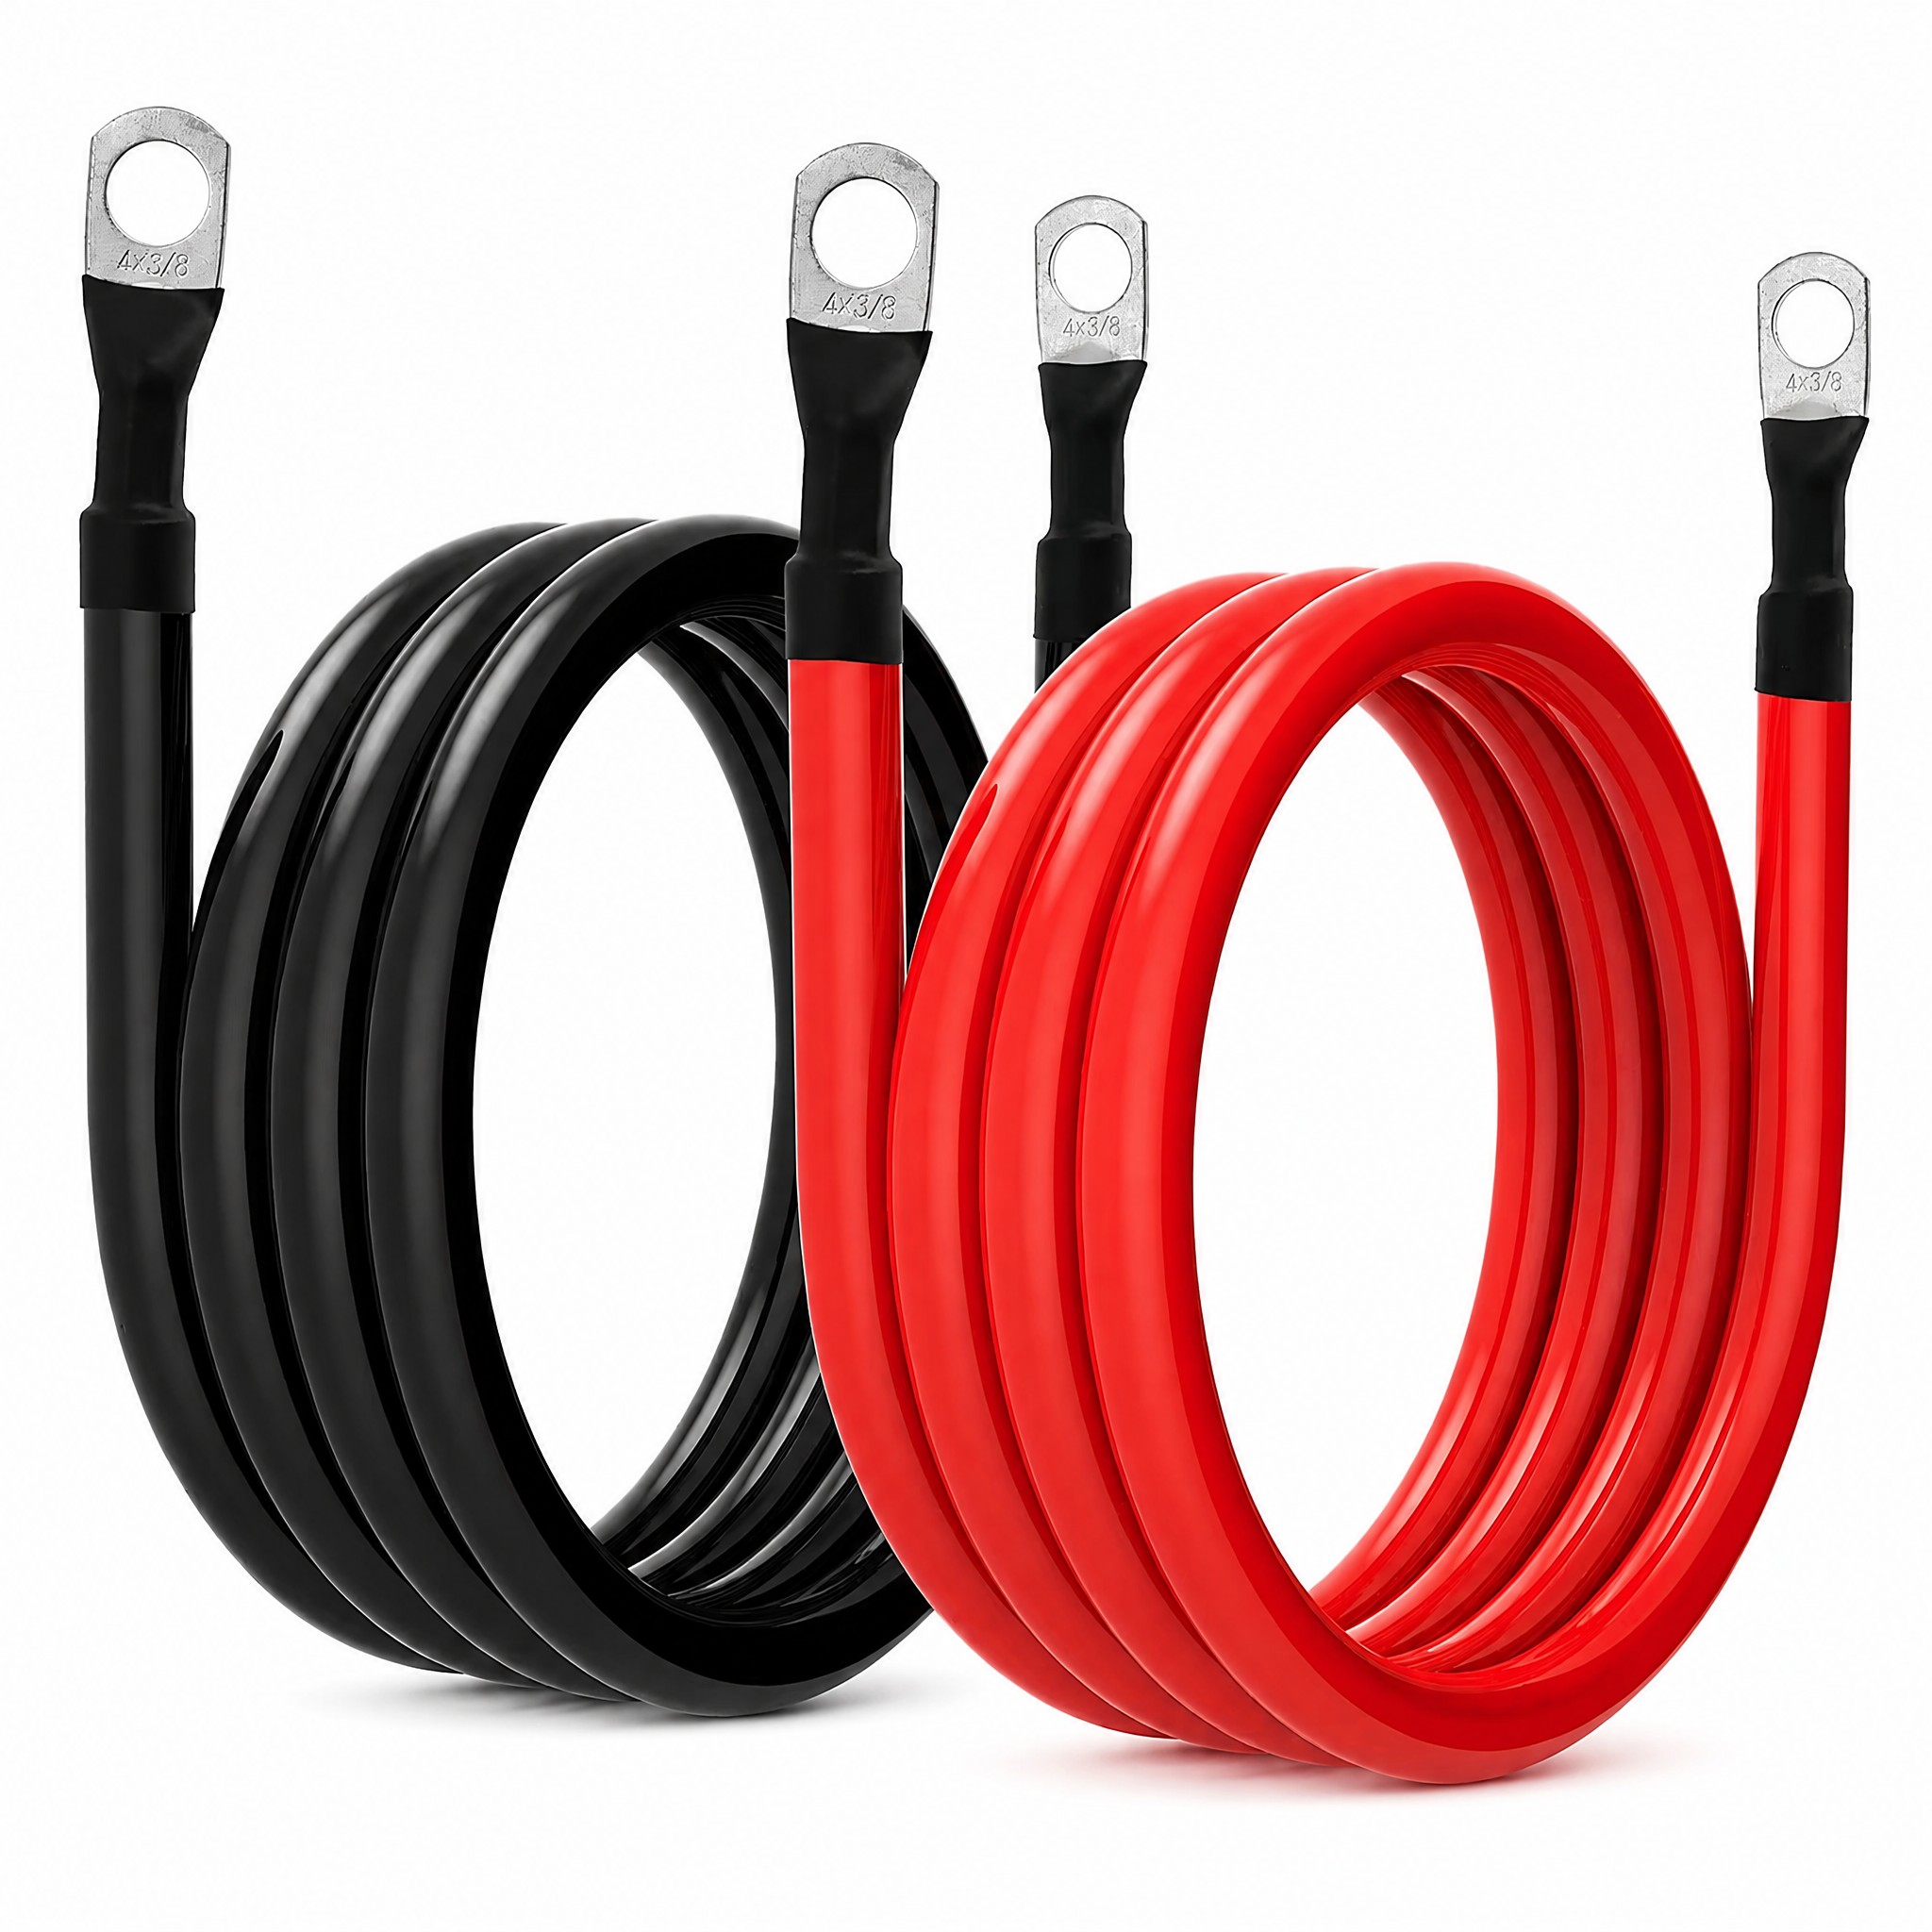
- Re-terminate properly with the correct crimp for the lug and the conductor, because a poor joint produces the same symptom as a cable that is too thin.
What we do not publish
We do not publish a cable size table, a maximum run length, or a voltage-drop allowance for either charger range. Every one of those figures would be tied to a particular combination of current, length and battery, and publishing one number would invite it to be applied to a vehicle it does not describe. Size the run for the current and the distance, and treat the charger's input window as the boundary you are protecting.
Frequently asked questions
- What cable size should I use for a 40A DC DC charger?
- It depends on how far the cable has to travel. The same 40A over a short run between adjacent components needs far less conductor than 40A along a five-metre route from the front of the vehicle to the back. Work from current, length and an acceptable voltage drop rather than from a fixed size.
- Does the charger compensate for a long cable run?
- The 12V range publishes that it compensates for voltage drop along the cable run. That helps within the published input window, but it does not remove the need to size the conductor properly. The DD range does not publish an equivalent figure, so we do not claim the behaviour for it.
- Can I use a smaller cable if the run is short?
- Yes, and that is the point. Loss depends on length as well as current, so two components sitting next to each other can be joined with a much smaller conductor than the same current travelling the length of the vehicle. Check the cable's own rating either way.
- Do I need a separate fuse for the charger?
- The input run should be fused at the source end so that a fault in the cable is cleared by the fuse nearest the battery feeding it. Size that fuse to protect the cable. We cover fuse selection for 12V systems in its own guide.